The goal this weekend was to get the rough wiring done and the insulation on so we could be ready for the siding installation next weekend. Despite that brief interruption for Halloween, we got it all done.
Wiring to vent, dome light and kitchen area.
Wiring to rear of trailer.
Insulation on passenger side.
Insulation on rear of trailer.
Not very exciting this week, but things that needed to get done before we can put the siding on.
Manufactured by Westfield, Inc in February of 1958 it is anyone's guess the things this little trailer has seen in its life. Join us on our journey to restore this wonderful piece of Americana.
Tuesday, November 2, 2010
Saturday, October 30, 2010
The trailer restoration was briefly interupted by Halloween.
Just to let you all know that we do have a life that extends slightly beyond the trailer project...our friends had a Halloween party and the theme was 50s and 60s TV shows. We went as Jeannie and Major Nelson from I Dream Of Jeannie. Actually, I was Jeannie's evil sister, Jeannie, who was a brunette and was constantly trying to steal Major Nelson from the good Jeannie.
My sister was Olive Oyl.
My girlfriend Candi, was Gidget.
Bob was Freddy the Freeloader from the Red Skelton show.
Dee and Hollis were Maxwell Smart and Agent 99. He had a cell phone attached to his shoe...the new age versions of a shoe phone :)
Okay, enough goofing off. Tomorrow we finish wiring the trailer and get the insulation in. And then we are on to siding.
Monday, October 25, 2010
We have walls...no really I know I said this before, but now we have walls on the trailer (whew that was a long title!)
So aside from polishing a mountain of aluminum, which by the way never seems to get smaller, we have made more progress on the trailer. Our friend Jan, who is restoring the same trailer that we are, graciously donated her Saturday to help us get the trailer back together again. I think she was happy to leave her mountain of aluminum behind for a day:) We appreciate her help immensely and will be there to help get hers back together when the time comes. We also owe a BIG thanks to Greg, Steve's neighbor, who graciously cleared out some space in his awesomely huge workshop so we could work on the trailer indoors.
This is what the trailer looked like Saturday morning...not much of a trailer.
Steve fabricated some supports to hold the walls up and keep them straight and they worked wonderfully. Drum roll please....may I present to you wall number one. Okay I know not much to you, but huge to us.
Now we have two walls.
Next came the front.
This is the roof. The original roof was really saggy and so Steve decided to reinforce the roof braces with angle iron. Worked like a charm, the roof is rock solid now.
This is what we had at the end of Sunday. Now that looks like a trailer again.
This is a picture of the interior looking towards the back. Notice the pretty cherry paneling.
Looking towards the front.
A very productive weekend!!! Now back to my aluminum polishing...heavy sigh! Next weekend we will start the wiring.
This is what the trailer looked like Saturday morning...not much of a trailer.
Steve fabricated some supports to hold the walls up and keep them straight and they worked wonderfully. Drum roll please....may I present to you wall number one. Okay I know not much to you, but huge to us.
Now we have two walls.
Next came the front.
This is the roof. The original roof was really saggy and so Steve decided to reinforce the roof braces with angle iron. Worked like a charm, the roof is rock solid now.
This is what we had at the end of Sunday. Now that looks like a trailer again.
This is a picture of the interior looking towards the back. Notice the pretty cherry paneling.
Looking towards the front.
A very productive weekend!!! Now back to my aluminum polishing...heavy sigh! Next weekend we will start the wiring.
The DMV Gods have smiled upon us!
I had a cold last week so didn't get much done. The great news of last week was that we finally got the title...YAY! We were relieved to finally get that taken care of, now that the trailer is well on its way to being rebuilt.
Sunday, October 17, 2010
The Final Countdown...
…to re-assembling the trailer of course! One big obstacle that was in the back of our minds was where to re-assemble it. You may be wondering why – when there is a shop in the background of many of the tear down pictures – we were working on it outside. Both overhead doors at my shop, the garage door at my house, and the garage doors at Jeanne’s house are too low to get the trailer inside. The weather was good when we tore it apart but we knew that by the time we were ready to start putting things back together, we wouldn’t be so lucky. I came up with several plans that involved tarps, plastic sheeting, various scraps of lumber, 500,000 BTU space heaters, Native American sun dances, and moving to a warmer climate. All of which were greeted with skepticism from Jeanne. During all of this it hadn’t escaped our notice that my next-door neighbor Greg had a really nice shop building with nice big roll-up doors. He of course had it filled up with his own stuff but we wondered “What would it take to get him to let us use some space for a month or so? Money? Cookies? A year of washing his truck? I decided to throw caution to the wind and just ask him. He said “No problem – I’ll just clear out some space and you can go for it. That’s what neighbors are for.” Yay!!! Thanks a bunch Greg! We are going to owe you big time! If all goes as planned – we will roll the frame next door this coming Saturday and start putting the trailer back together. We are totally jazzed at the prospect! Here’s what we’ve been doing to get ready: We replaced most of the plywood decking on the frame. It really wasn’t in too bad a shape, but it smelled terrible and had some minor soft spots so we figured the time and relatively small cost to replace it was probably a good idea.
This isn’t the best picture, but it shows the plywood decking we replaced.
This shows the only portion of the original plywood we left, and the new caulking around the wheel well and seams.
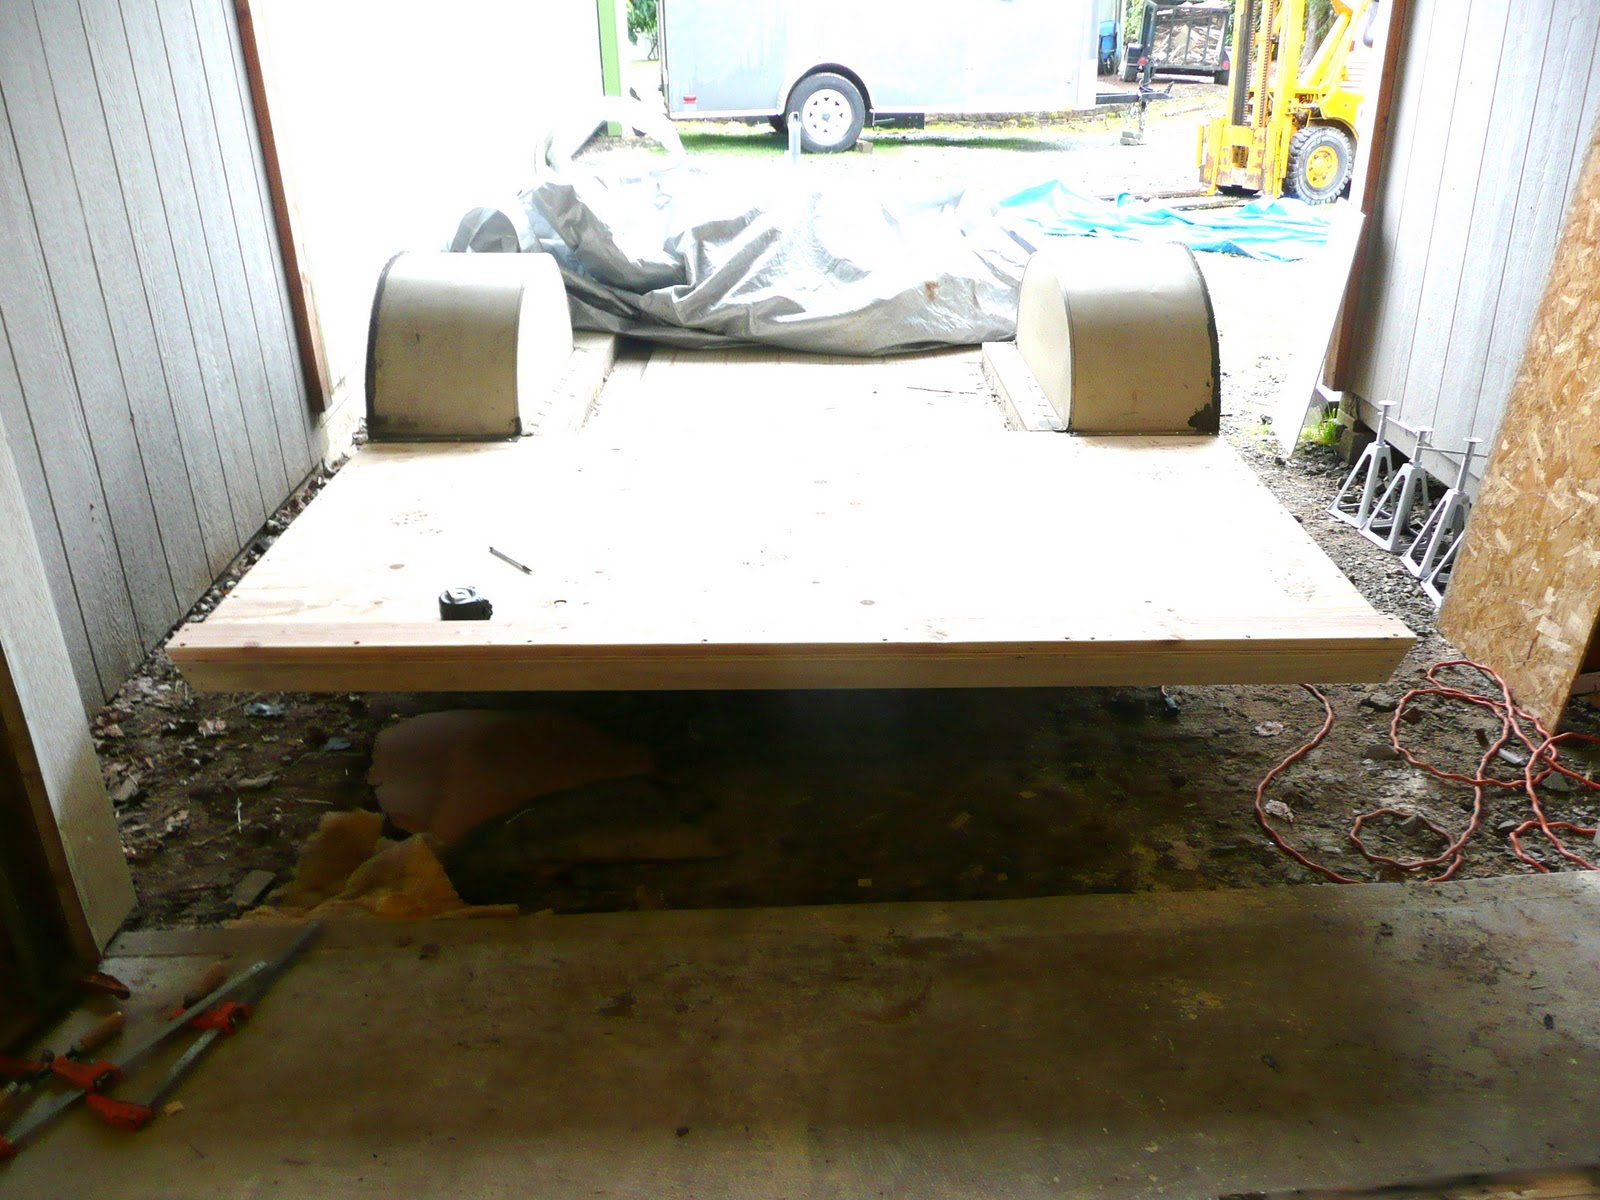
Some previous owner had hacked up the floor in the doorway and installed a goofy step that neither fit nor worked correctly. We had to re-do the floor and structure in this area.
Originally there was really no structure or framing to attach the bottom lip of the rear siding to which explained why it was all bent to heck. We re-designed the rear to accommodate a solid anchoring point to eliminate that original design flaw.
Next we primed and painted the decking except where the flooring will be.
I made all new Cherry top bows and top trim.
One of several batches of Cherry plywood being stained and finished for the interior. It’s amazing how much plywood a trailer this small takes. I can only imagine on a bigger trailer!
There are a few more framing pieces for the roof and front and back windows I still need to make, but we are almost ready! We can’t wait to begin the process of putting things back together. That’s when you really start to see the reward for all your hard work. It’s going to be fun! Stay tuned……
Oh and in case you hadn't noticed...I (Jeanne) had been blog hogging so this post it from Steve :)
Thursday, October 14, 2010
More cleaning/polishing
I'd say, "One of the worst things about this aluminum stuff is...", but it is all awful so how could I possibly choose. Right near the top of the list would be removing the caulk from the drip caps, or from any other part of the trailer, there just happens to be a surplus of it on the drip caps.The drip caps, or eyebrows as some call them, go above the windows and keep rain from dripping down the side of the trailer directly on to the windows. Some previous owner had a love affair with silicone caulk. It's everywhere. Did you know that silicone caulk was created to withstand a nuclear holocaust?...or maybe it just seems that way. I did some research and tried an environmentally friendly product called Motsenbacker's Lift Off. It did absolutely nothing. Then I tried, acetone, paint thinner, lacquer thinner, and paint stripper. I also tried balancing on my left foot, blindfolded, while hula hooping, and reciting the alphabet backwards (one person on the Internet said this was the cure for everything, hey it was worth a try) and still nothing. Not even a little bit of it was removed.
Desperate times call for desperate measures so I got out the absolutely not environmentally friendly, nor skin friendly, nor lung friendly adhesive remover. The first attempt with this was to brush a little on and let it sit a minute and see if the caulk would come off. Just the tiniest bit did come off (thank you baby Jesus, maybe I'm onto something). So I employed the Tim Taylor methodology. I created a soaking vessel out of a piece of flashing. I had to dam it up at both ends so the stuff wouldn't leak out onto the floor and I used my hot glue gun for that, then I put the drip cap in and poured the adhesive remover in the vessel to cover the caulk. Here is a photo of my creation.
I wanted to let it soak in there for an hour or so and went off to take a shower and get ready for work. I didn't want to get my work clothes all icky so decided to check out the progress in my robe. I went into the garage in my robe and slipper and donned my super heavy duty rubber glove (quite a sight I'm sure) and when I leaned over the tie on my robe must have dipped into the remover and brushed up against my newly shaven leg...did I mention that the adhesive remover is not skin friendly. I won't repeat what words came spewing forth as I ran into the house to wash this off, and while I ran the robe tie brushed up against the other leg...more words I won't repeat were heard. The good news is that the soaking worked pretty well. I decided to soak another one and leave it all day and it worked even better.
Here are the drip caps. Top: Right off the trailer. Middle: The caulk has been removed, it has been bathed in an acid wash, and has been straightened. Bottom: Cleaned and ready to be polished. Quite a difference!
Desperate times call for desperate measures so I got out the absolutely not environmentally friendly, nor skin friendly, nor lung friendly adhesive remover. The first attempt with this was to brush a little on and let it sit a minute and see if the caulk would come off. Just the tiniest bit did come off (thank you baby Jesus, maybe I'm onto something). So I employed the Tim Taylor methodology. I created a soaking vessel out of a piece of flashing. I had to dam it up at both ends so the stuff wouldn't leak out onto the floor and I used my hot glue gun for that, then I put the drip cap in and poured the adhesive remover in the vessel to cover the caulk. Here is a photo of my creation.
I wanted to let it soak in there for an hour or so and went off to take a shower and get ready for work. I didn't want to get my work clothes all icky so decided to check out the progress in my robe. I went into the garage in my robe and slipper and donned my super heavy duty rubber glove (quite a sight I'm sure) and when I leaned over the tie on my robe must have dipped into the remover and brushed up against my newly shaven leg...did I mention that the adhesive remover is not skin friendly. I won't repeat what words came spewing forth as I ran into the house to wash this off, and while I ran the robe tie brushed up against the other leg...more words I won't repeat were heard. The good news is that the soaking worked pretty well. I decided to soak another one and leave it all day and it worked even better.
Here are the drip caps. Top: Right off the trailer. Middle: The caulk has been removed, it has been bathed in an acid wash, and has been straightened. Bottom: Cleaned and ready to be polished. Quite a difference!
Here is another window that has been cleaned and is ready to be put back together.
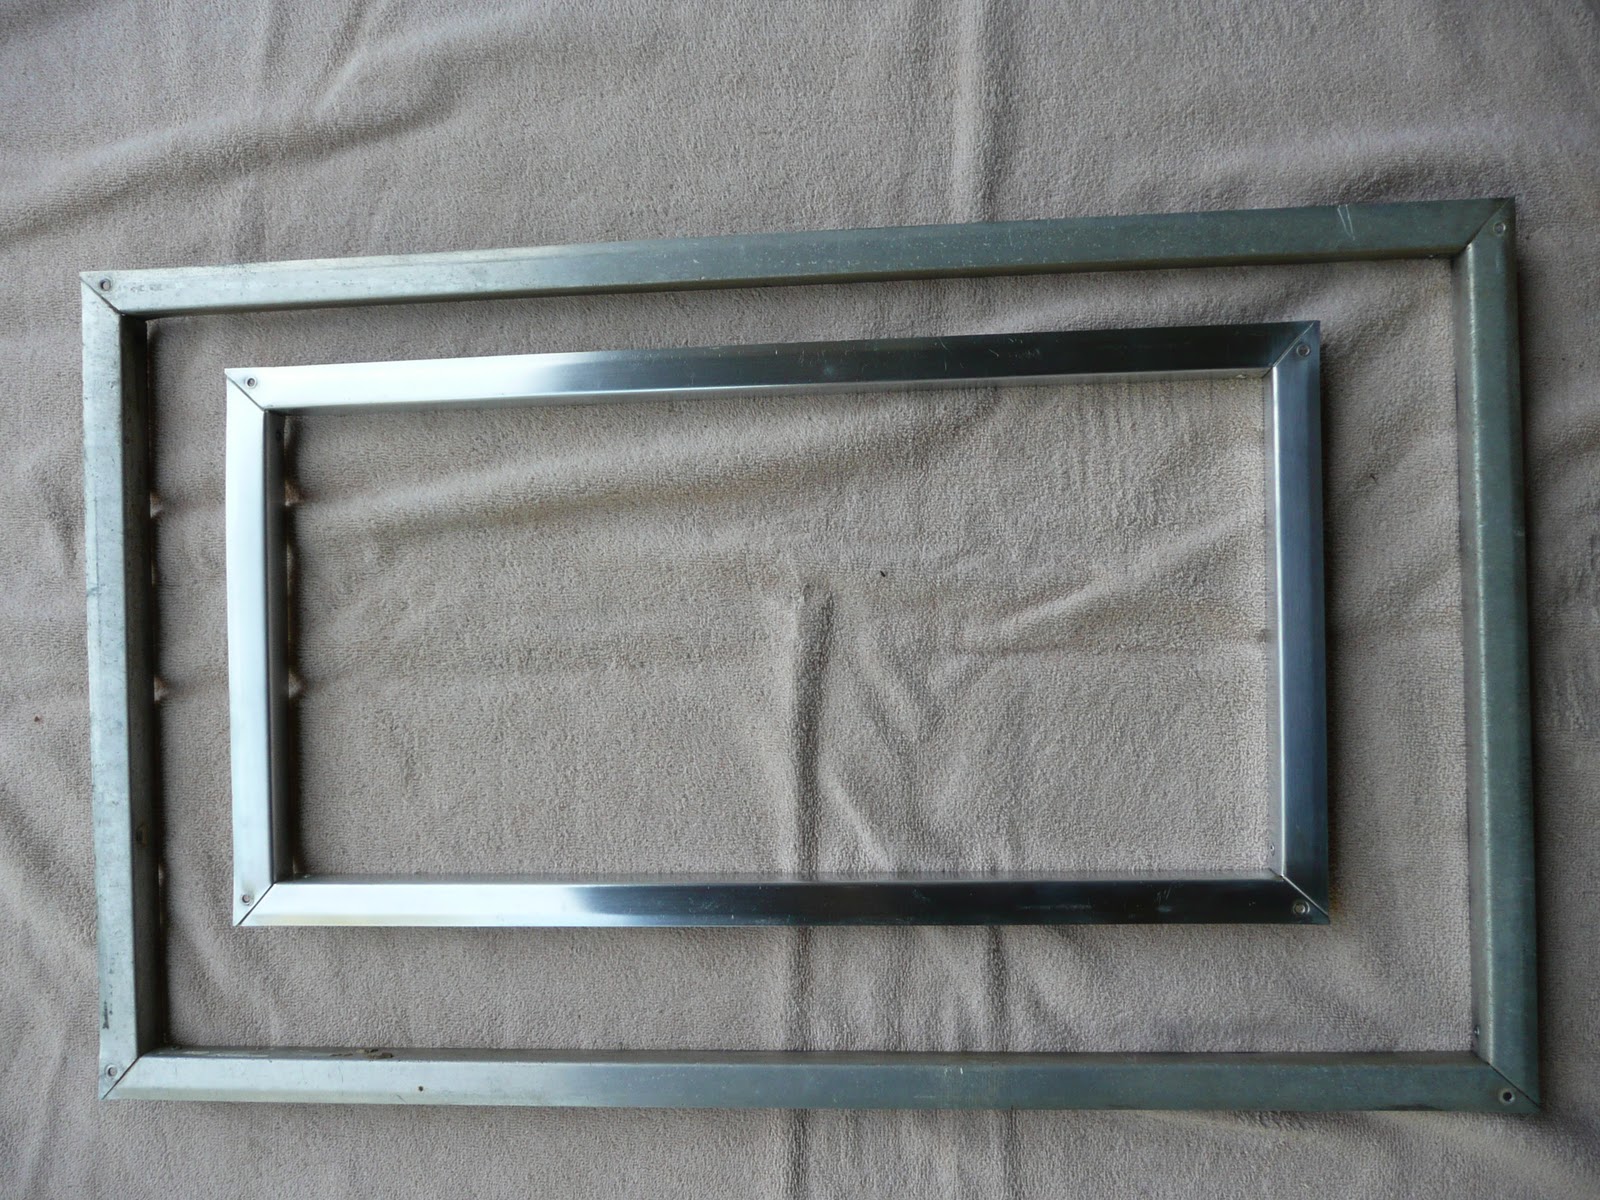
And this is the interior window trim. One before cleaning and one after.
Despite my chemical burns, I am getting a little done each day on this daunting task. At this pace I may be done by Memorial Day. Monday, October 11, 2010
Help. I am drowning in a sea of aluminum!
It is a good thing that no one was here to witness my latest melt down, as I lay on the floor staring into space mumbling…”What have I gotten myself into?” What is it that has reduced me to a pool of snot bubbles on the floor? This pile of aluminum parts, pieces, and windows in my garage. All of these pieces need to be cleaned, repaired, smoothed, and polished.
The only thing that makes me happy about this picture is my Chevelle in the background.
Here is a picture of some of the chemicals and things I have used so far on this pile of stuff. Some previous owner had a love affair with silicone sealant and it is on everything, just getting that off has proved to be a huge challenge.
Here is a picture of some of the tools I have tried so far to accomplish my mission.
I have read many tutorials created by people restoring their trailers on how they managed this process and have tried many of their suggestions. I am currently developing a process that works for me. Here is what one of the windows looked like before.
Dirty, rusty, and just plain gunky. Pieces are bent, scratched, and otherwise trashed. It took me a couple of hours just to get this window apart, get all the old gasket and silicone cleaned off, and get the pieces all hammered back into some shape that resembles its birth shape. Two hours and I haven’t even begun the cleaning, filing, sanding, buffing, polishing. Here is a picture of what my windows won’t look like. This gentleman, I refer to him as the Aluminum Polishing God, has spent 18-20 hours per window just in the cleaning/polishing stage…does he have a life?????
While these look incredibly amazing (they look like chrome OMG!!!), I will be happy to have mine just looking clean and marginally shiny. Here is my progress so far on window one.
It hasn’t been polished and buffed yet, but is clean and all the rust and 52 years of smoke, food guck, pet odor, and the like are gone. I have spent a small fortune on things to help with this task and imagine I will spend more before the process is complete.Great aluminum polisher is a job I would have rather not added to my resume :)
Subscribe to:
Posts (Atom)