Monday, July 11, 2011

I see light at the end of the tunnel!

We have had many interruptions this spring that have caused Steve's goal of June 30 for completion of the trailer to come and go. But things are coming along and I think by the end of July we will probably be done except for little decorating details.This weekend the trailer had its first trip off the property. Its first journey was to the tire store for some desperately needed new tires.

The wiring is nearly completion and all that is left to do is mount the battery and get that hooked up. The plumbing is pretty much done too, with the exception of the faucet which will go in this next weekend. Here is a picture of the fresh water tank, pump and some of the wiring. These are located under the bed.

Small trailers need creative use of space. So we placed the microwave under the bed too.

This weekend we got two tasks completed that we were kind of dreading...painting the trailer and upholstering the dinette seats. I have been sewing practically since I was born, but had never tackled an upholstery project like this. I bought some cheap vinyl to do a practice run and found lots of tricks and ways to make things look better by doing that. We used the original seat frames and hinges, but decided to go with foam instead of the original springs. Here are all the parts I need.
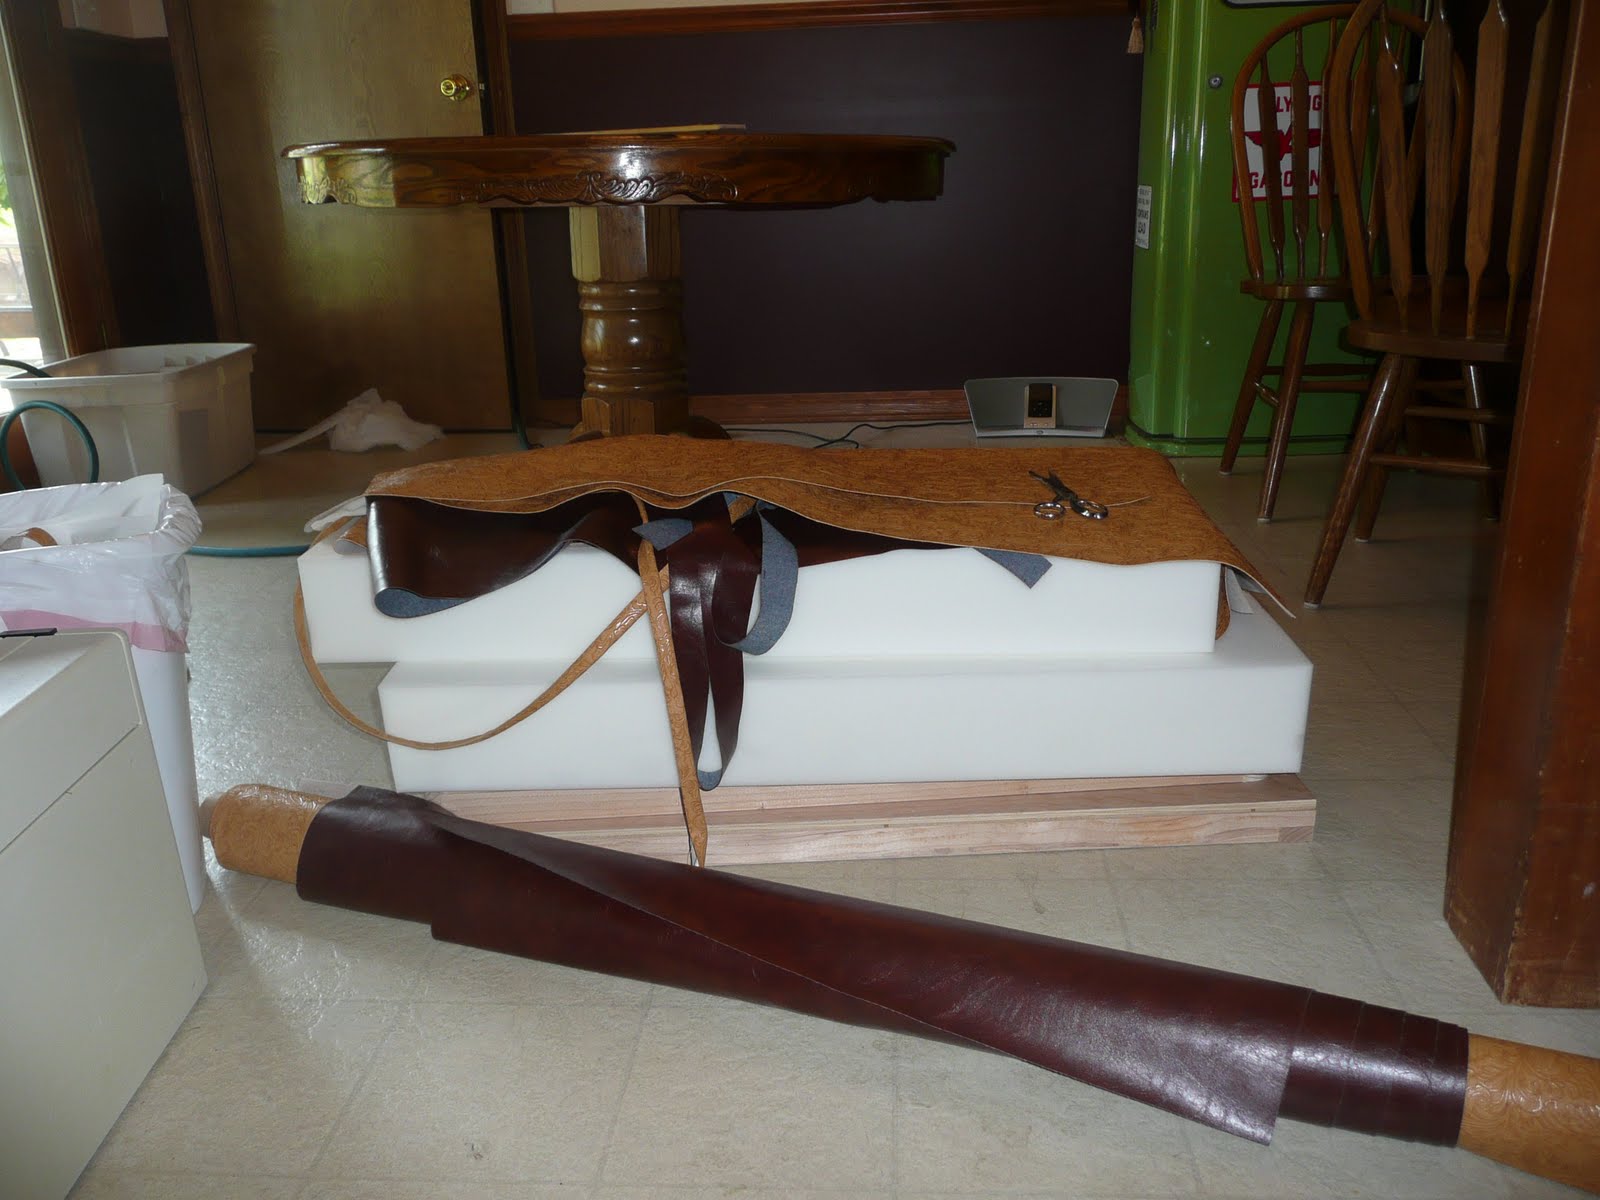
I put the foam on the frames and rounded the front edges of the foam with an electric knife. Then I covered them in batting.

And here the first seat is complete and in the trailer...yay!!

While I was working on this Steve was working on the painting. He first laid the old aluminum siding out so that he could get paint lines in the correct place. Then he started taping off the area.

 Then came the masking.

Then the painting began.


And with paint finished.


We still need to add the silver pin stripe tape that finishes off the paint detail. We are using the vintage cooler that is on the tongue as the battery box.

And finally a picture of one of the distractions that has slowed us down...Gemma the new grandbaby.

This next weekend we will get the counter top, sink, faucet, and table top in.


Saturday, June 11, 2011

Little by little.......

We are making progress! It often seems like it's progressing at a snails pace, but between our jobs, families (new granddaughter - Yay!), life in general, and maintaining two houses there just isn't as much time to work on the trailer as we would like. I (Steve) have set a personal goal to be pretty much finished with maybe a few loose ends by June 31.  Since our last post Jeanne has made curtains which look really nice contrasted next to the Cherry interior.

We got the cabinet doors made, made the drawer boxes and got them installed, installed the doors with cool retro looking hinges, and installed knobs. One of the parts that we have enjoyed during this whole project has been the process of finding and selecting what we think are the perfect parts and pieces that fit the theme and era of our trailer. Case in point was the cabinet knob selection. We looked at several places and online and found several ones that were okay and would have been fine - but none that really grabbed us. We were at Home Depot and out of the main line of sight Jeanne spotted a knob in the special order area. I had walked by the same spot numerous times an had not noticed this particular knob. As soon as we saw it we were like "That's perfect!" I know - we get excited about such things. We're dorks!

Here are a couple of shots of the cabinets.


The closet area was originally open top to bottom but I added two large drawers at the bottom leaving room at the top for shirts, coats, etc.


We have also been working on the plumbing and wiring. We will post some pictures of our progress in a later post. There is still much to do before we can take it on it's maiden voyage - But I'm optimistic my timeline goal is do-able!

Sunday, April 17, 2011

Retro-vating the refrigerator

So how do you make a new refrigerator look like it should be in a 1958 trailer? You retro-vate it. And who better than to take on this task than Steve, a master retro-vator. Here is a picture of the new fridge and the original unit, which was an ice box not an electric fridge.

First he took the door off and made a wood frame.

Then he added aluminum trim.

Next, the trickiest part, how to make a new door that would looked appropriate. Here is the back of the new door.

He had to cut, hack, and chisel the plastic door insert off the new fridge.

Next, he put this piece on the wood door.

Next, he added aluminum trim and rubber gasket.

Next, he installed the refrigerator into the trailer and attached the door. He used the original hardware from the ice box. It looks awesome!!!


Sunday, April 10, 2011

To cabinetry and beyond!

We started building the cabinets in the trailer this weekend. It is so fun to watch it come back to life. Here is the kitchen area before.

Next we started on the kitchen base cabinets.

Then we added some upper cabinets.

Here is the front of the trailer before.

Then after.

Cool speaker covers.

Then some lights.

Next the closet...before.
 

Closet after.

Light in back over bed.

Next added the backsplash.


We got a great deal done this weekend but there is still a ton to do before it is ready for its maiden voyage. Next on the agenda is cabinet doors and all the finish trim. I have to start on the dinette seats, and we should get the counter top and table done in the next couple of weeks.


Sunday, April 3, 2011

Finally coming out of hibernation!

After birthday celebrations, babies arriving (first grandchild...yay!) and general crappy weather, we were finally able to work on the trailer again today. We started by putting in the last three windows. So the trailer is no longer blind on the driver's side.

Fear not all loyal followers, we know the wheels are ugly and they soon will be a nice yellow to match the trailer (when it is painted too). Oh and there are a few pieces of drip cap and drip rail missing, but we ran out of butyl and had to order more.

Next we tackled  the cool logo decals that we had made at A to Z Signs in Boring, OR. These are identical replicas of the ones that were originally on the trailer. The guys at A to Z did a great job. Don't they look awesome!


Check out our cool retro winged side markers. There were originally two models of Westerner trailers, the Deluxe and the Pony Express. Ours was a Deluxe and we had those logos replicated also.


One last new thing to show off...the new marmoleum floor. It looks great!


Now it is time to start rebuilding the interior, cabinets, plumbing, lighting, stereo, upholstery, etc. Still lots to do, but were are having a great time!

Tuesday, March 1, 2011

Westerner Cake

It has been such a long time since we have had anything to post about the trailer. It has been too cold here to work on it outside so just waiting for some warmer weather so we can put some leveling compound on the floor and get the marmoleum installed. Once we do that we can start building the cabinets...yay!

Just celebrated my birthday and Steve made me a Westerner cake. It was really awesome, and it tasted good too. Who knew that among his many talents was cake decorator.

Wednesday, January 5, 2011

Happy Trailer

We finally got the trailer out from under the tarp...yay!. It is happily resting in its new covered shelter. We hope to get back to working on it now that the holidays are over.

Also finished restoring our one and only jalousie window. What a lot of work cleaning around the window opening mechanism. But must say the worst part was getting the new pile weatherstrip and bulb seal in. Definitely a two person job. First picture is before and others are after restoration.